
Making a Gait Analysis Video
Gait analysis videos, when done correctly, can be an invaluable tool for documenting change over time and communicating your observations to your dog’s care team. Below you will find a series of guidelines created to help you get the best possible video.
1. Remove any gait altering gear, including halties and harnesses. I prefer dogs to either be on a flat collar and regular leash or, if you have a safe area, no leash. Even the best harnesses alter gait, as does any pressure on the leash or social pressure from the human.
3. The dog must be moving at a natural gait. No heeling, no tight leashes, no treats for attention. I often tell my clients to walk them until they are bored – don’t talk to the dog, don’t make eye contact, just walk back and forth until your dog is bored. Investing a bit of time at the beginning will pay off later.
3. The land should be level and and provide adequate traction. Avoid hills, deep sand, ice, and other surfaces that may impact their gait. A flat surface is preferable to grass so that the dog’s feet can be seen. Sometimes it’s impossible to get ideal conditions, but recognize that snow, rain, wet grass etc may have an impact on gait, depending on the dog’s sensitivity to the conditions and how bad the conditions actually are. If there are conditions that may be impacting your dog’s gait that aren’t obvious (ie. wet grass), make sure you let your care team know because that may influence how they view your dog’s gait.
4. Try to keep the videos short – ideally under 3 minutes. Typically a gait video includes, in this order:
a) Walk (side)
b) Walk (side – slow motion)
c) Walk (front)
d) Walk (front – slow motion)
e) Walk (rear)
f) Walk (rear – slow motion)
g) Trot (side)
h) Trot (side – slow motion)
i) Extended Trot (side)
j) Extended Trot (side – slow motion)
k) Trot (front)
l) k) Trot (front – slow motion)
m) Trot (rear)
n) Trot (rear – slow motion)
When I’m suspicious that there’s an issue, other movements I may videotape include:
a) Gallop (usually on a recall)
b) Lead changes
c) Gait changes
d) Sits or downs to stands
e) Circles or changes in direction to the left or right
**If I have a concern, I’ll often record everything to take a close look at it, but on my final video I only put the videos which help show my concern.
5. Document at both regular speed and slow mo – you can either do this on the video itself, or in editing software later.
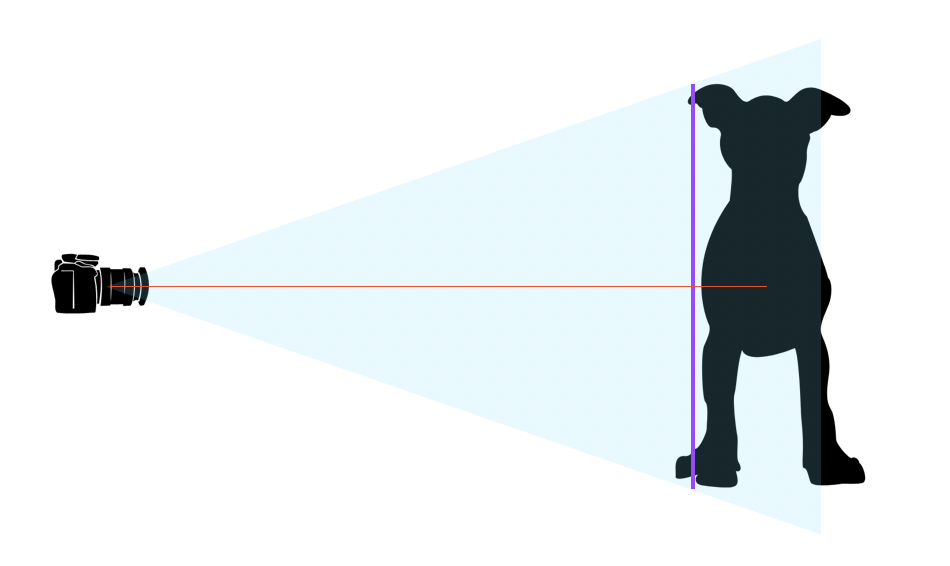
6. Make sure you are on the same level as the dog and your camera/phone is aligned with the dog’s lower torso. For very small dogs, I lay on my stomach to get the proper angle.
7. Zoom in on the dog, either while videoing or (what I usually do) while editing. Zooming in at all angles (front, rear, side) is incredibly important because it allows us to see the details of a dog’s movement. It’s also important to make sure the picture is as clear as possible again to pick up details of movement. A blurry image can make gait analysis really difficult. The Ken Burns effect on Macs, and the Power Director app (free and can be used on most phones and tablets) are great options for zooming in and following your dog.
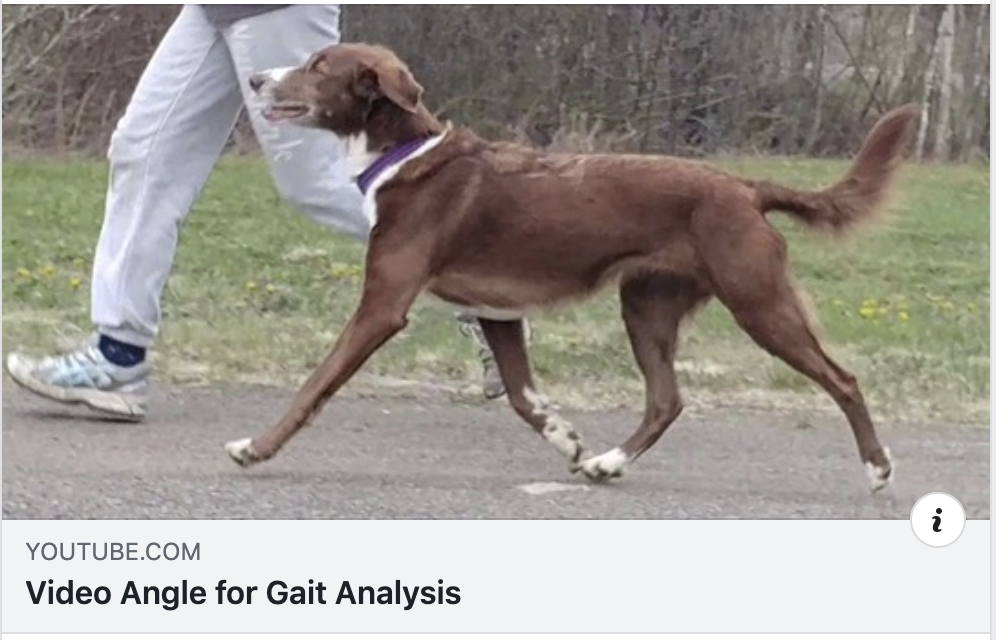
Below you will see a sample gait analysis video created by Krista N., starring her wonderful dog Willow.
Common Questions:
- What is an extended trot, and how do I get it?
An extended trot will result in a lengthening of stride, while maintaining the trot gait. The easiest way to get this trot is to ask your dog to move faster while trotting. I include it in the video for a few different reasons. Firstly, a dog may show no compensation at a collected trot where there is minimal extension involved, but an extended trot can highlight any anomalies. If a dog is unable to transition to an extended trot and needs to transition into another gait instead, that also provides valuable information.
- How many strides should be included in the video?
Aim for between 6-10 strides that are square to the camera (closer to 10 is better). It will depend on the size of your dog and where you are filming, but more is better than less. - My dog always ambles instead of walks. What should I do?
Slow down your walk, especially for small/medium dogs. - My dog always paces instead of trots. What should I do?
Speed up your pace, and/or try to get video of their movement off leash. If your dog can’t transition into a trot comfortably, that is valuable feedback and worth noting. - How important is it that my dog is square to the camera and that I zoom in?
It’s absolutely essential for gait analysis purposes. When recording from the front, your dog should be moving directly towards the camera. If a dog is camera shy, I’ll hold a treat and call them to get them to move directly towards me. When videoing the rear, I will often have the owner sit their dog directly in front of the camera, and then have them move from that point so that I know their rear is square to the camera. For the side video, you want to record from far enough away that the camera can capture 6-10 strides while square on (the more the better). If you don’t zoom in initially, once you have the videos, you can use the Ken Burns effect or Power Director app to zoom in directly on the dog.
Final Thoughts
There is a saying, “When a dog is lame somewhere, he is lame everywhere.” This is SO true, and it’s one of the reasons that when someone posts a gait analysis video, people will identify different limbs as being lame. Instead of having people randomly guess which limb and which joint is the issue (because trust me, with the exception of the professionals in the group, most responses are very random), you are better off asking people to identify what they see in terms of irregularities or inconsistencies and bringing that information to a CCRP (or your regular vet if a CCRP isn’t available).
Lastly, when doing gait analysis I’ve learned that the more I know, the more I don’t know. Limit your expectations – gait analysis can provide some clues, but when I’m trying to understand what is happening with a dog I consider gait videos, measurements, pictures (always at a stand, sometimes at a sit and down depending on what I’m looking for), information from the owner, my observations, and my hands (I’m a Canine Massage Therapist in addition to being a CPCFT). The information I gather from ALL of these methods is packaged together when I have concerns with a dog’s gait and am referring the dog to a vet for diagnosis and treatment. Gait analysis can provide a starting point, but it’s not the whole picture. Work with a vet or CCRP who can put the whole picture together for you – don’t just rely on a Facebook group.
I hope this helps!
Tara Monahan OCT CPCFT SCMT
You may also like

When Dogs are Lame Somewhere, They are Lame Everywhere.
